The Top Menu Bar is where the functionality to Add Tags, Add Groups, Delete Groups, Delete Tags, and Export Tag References is located.
Add Tags
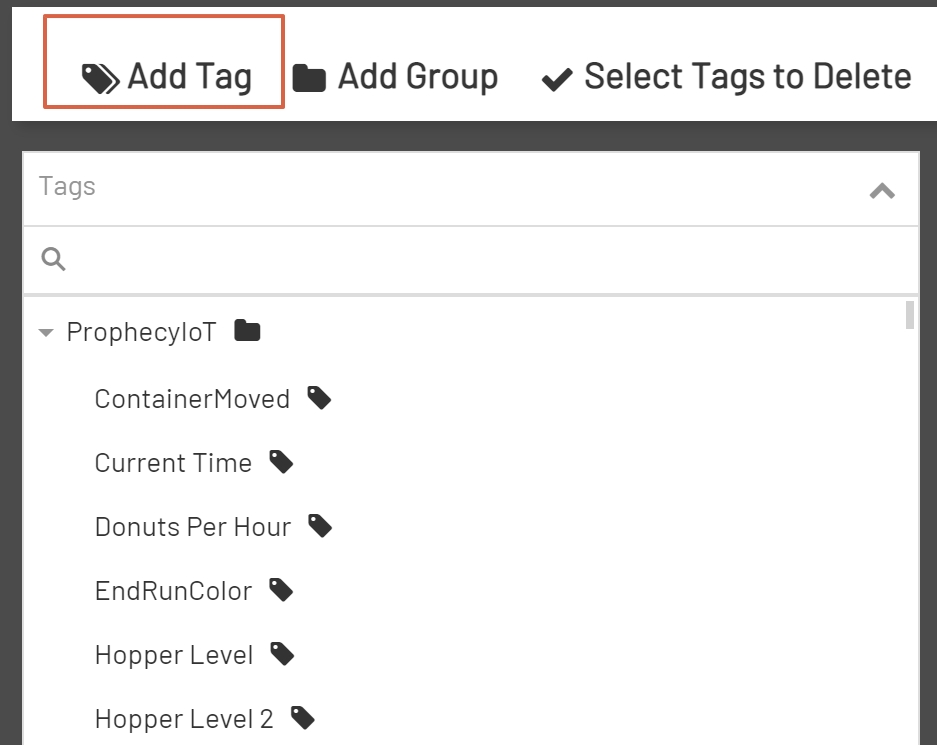
To add a new tag, click the Add Tag Button at the far left of the Top Menu Bar. Clicking the Add Tag Button will enable all the available fields in the Tag Editor area.
Note: For more information on the Tag Editor, please reference the Tag Editor section of the documentation.
Add Groups
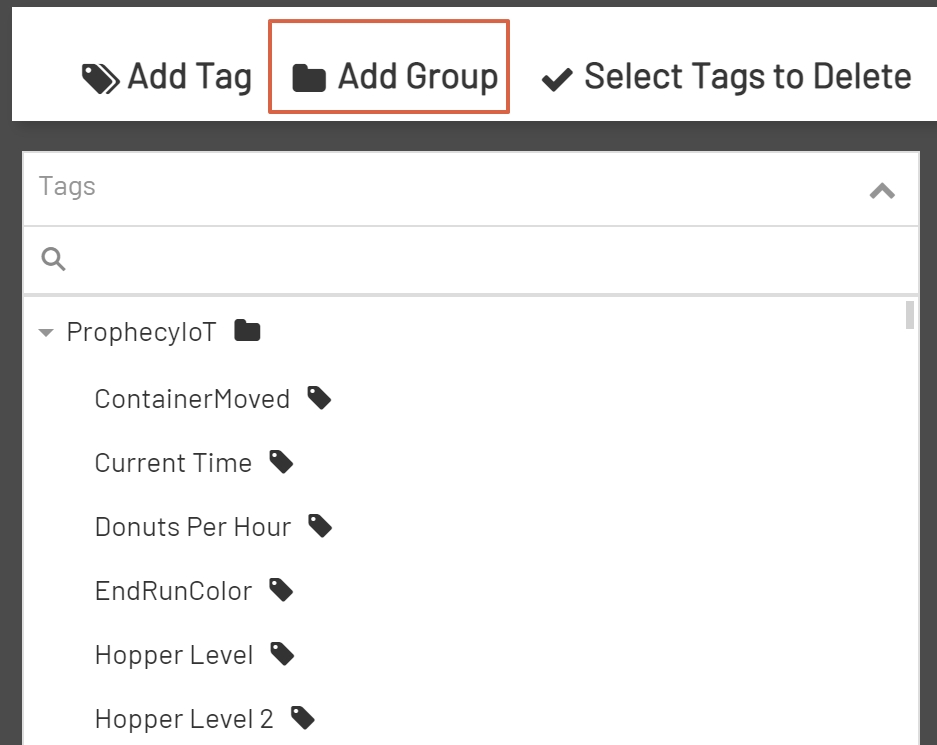
To add a group, click the Add Group Button in the Top Menu Bar.
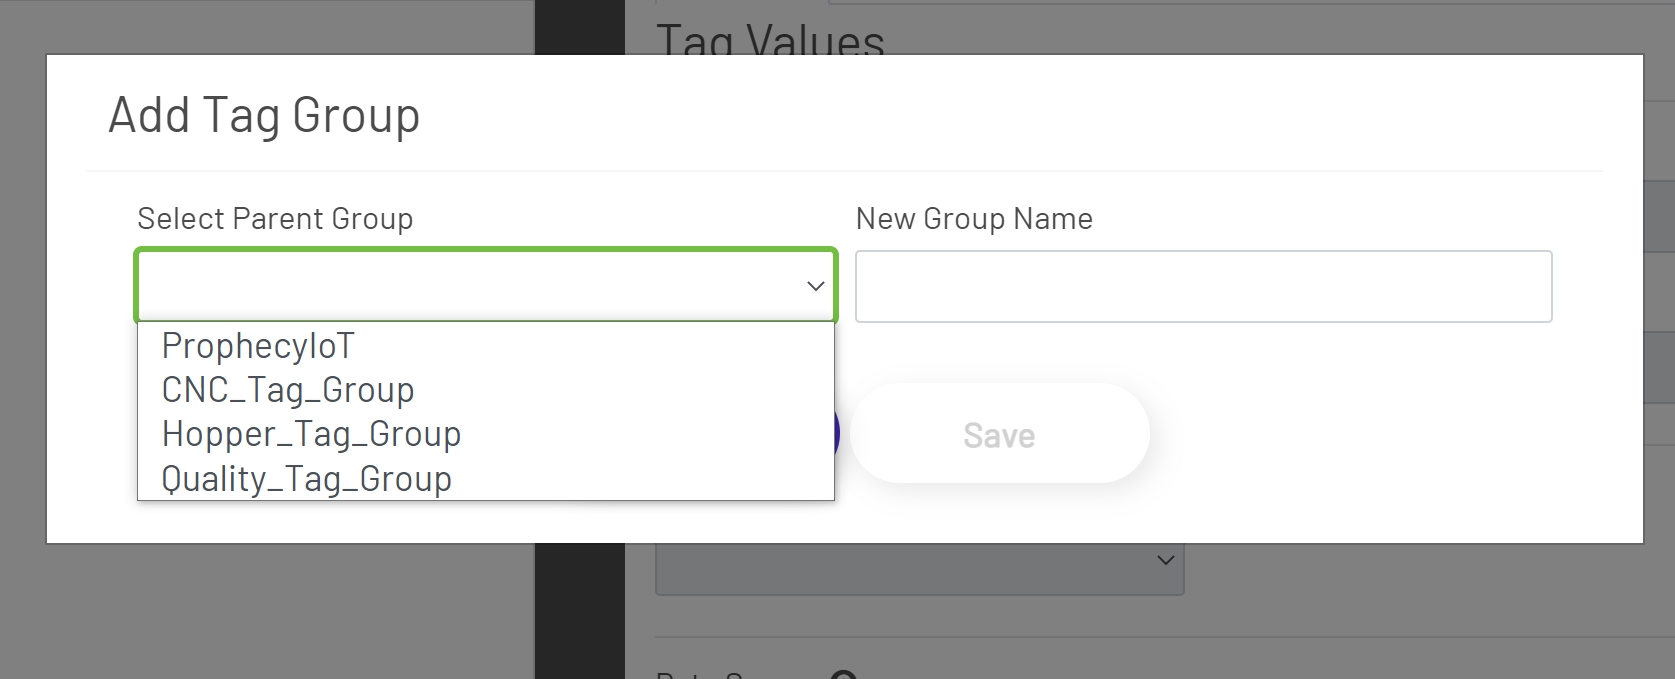
Clicking the Add Group Button will open the Add Group Modal Window. This window contains two required entries:
-
Parent Group: This is the group or subgroup that the group will be added to. This dropdown will list all current groups and subgroups in your application. The ProphecyIoT group will always be at the top of the list. This is the main group for the application.
-
New Group Name: This is the entry for the group that is being created.
There is currently no limit to how many groups or subgroups that any one group can contain.
For example, a group named Machine1 could be created inside of the main Prophecy group. Then a group named Machine1_Count_Tags could be created inside of the Machine1 group. This process could continue for each newly created group as many times as needed.
Once the group selection has been made and the New Group Name has been entered, click the Save Button at the bottom of the modal window to save the changes.
Delete Groups
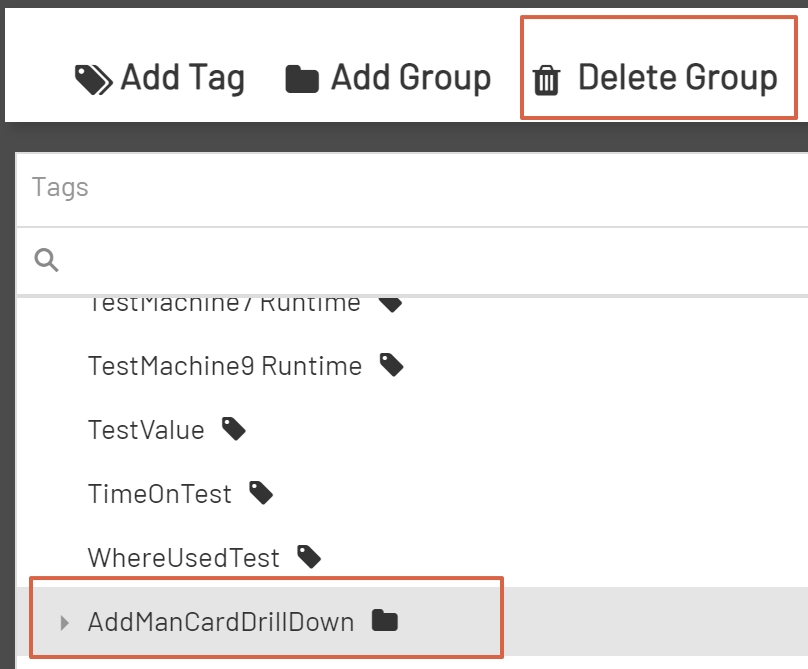
To delete a group, select a group to delete from the Tag Tree. Groups are distinguished from tags in the Tag Tree by a small triangle to the left of the name and a folder icon to the right of the name. Once a group has been selected, click the Delete Group Button in the Top Menu Bar.
Note: The Delete Group Button will not be visible until a group has been selected in the Tag Tree.
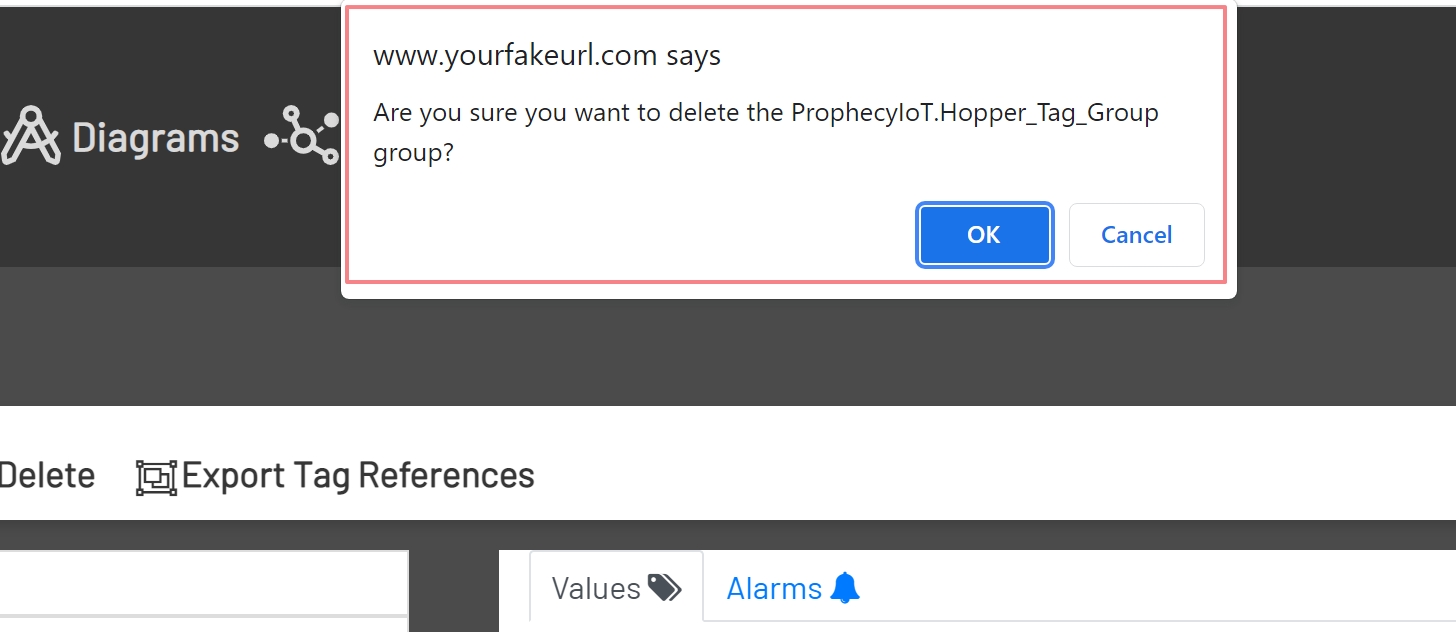
After clicking the Delete Group Button, a Deletion Confirmation will show at the top of the screen. If the Delete Group Button was intentionally clicked, click Ok in the Confirmation Window. Otherwise, click Cancel in the Confirmation Window.
Note: If the group to delete contains any tags that are referenced in other tags, those tags must be deleted or moved before the group can be removed. For more information on deleting tags, please reference the Delete Tags section of this documentation.
Delete Tags
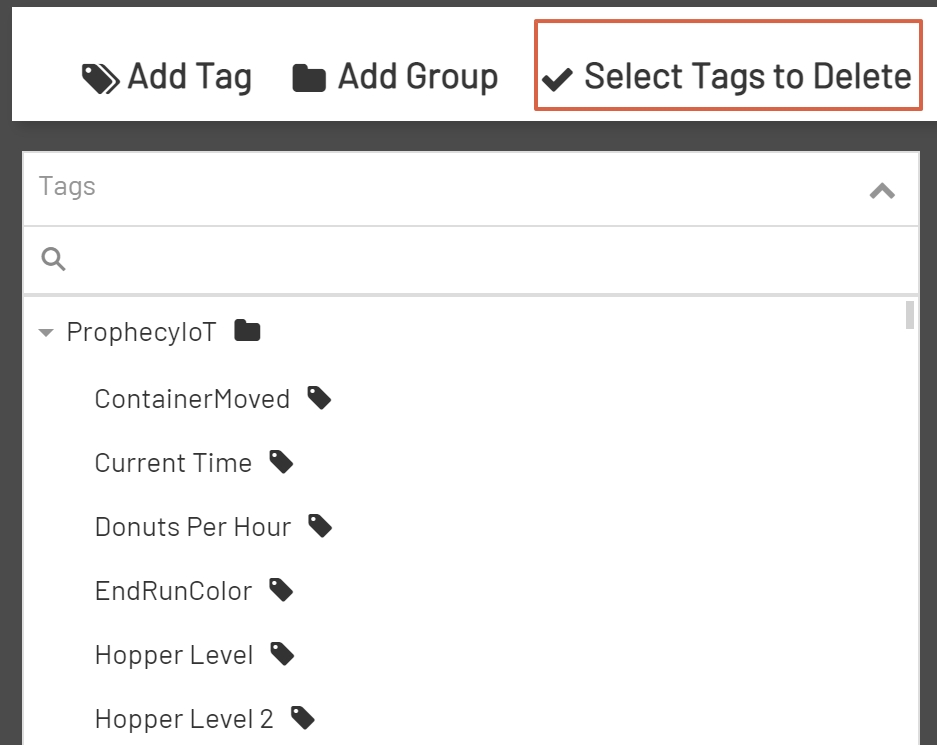
To delete a tag or tags, click the Select Tags to Delete Button in the Top Menu Bar.
After clicking the Select Tags to Delete Button, the Top Menu Bar will change to show a Delete Button and a Cancel Selection Button. The Tag Tree will also change to show check boxes next to each tag name.
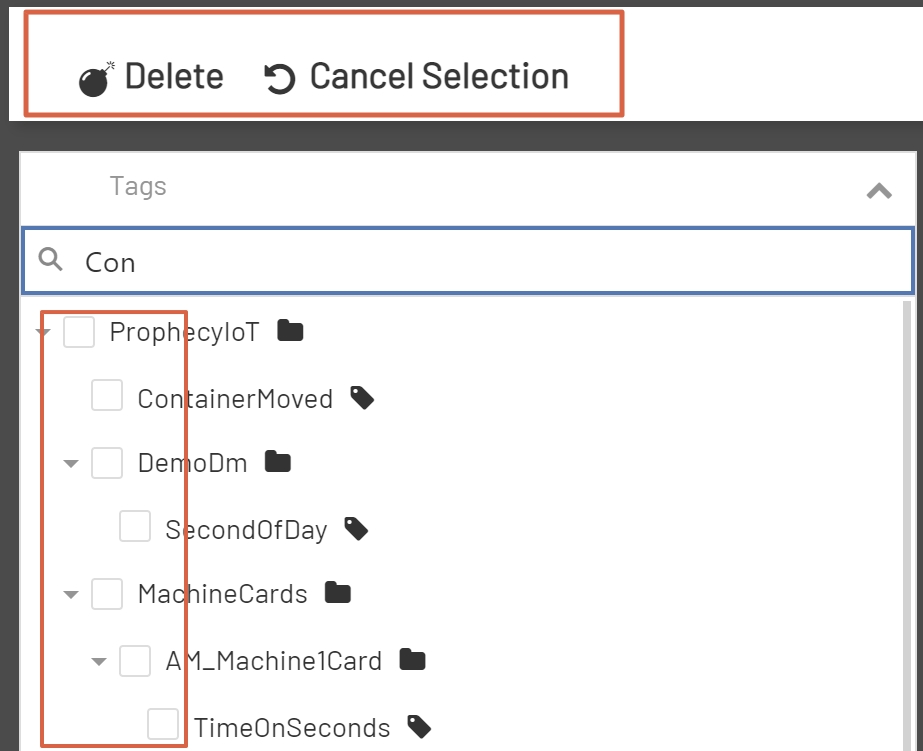
Before a tag or tags can be deleted, check the box next to each tag that needs to be deleted. Then click the Delete Button at the left of the Top Menu Bar. Or click the Cancel Selection Button to go back and cancel the deletion process.
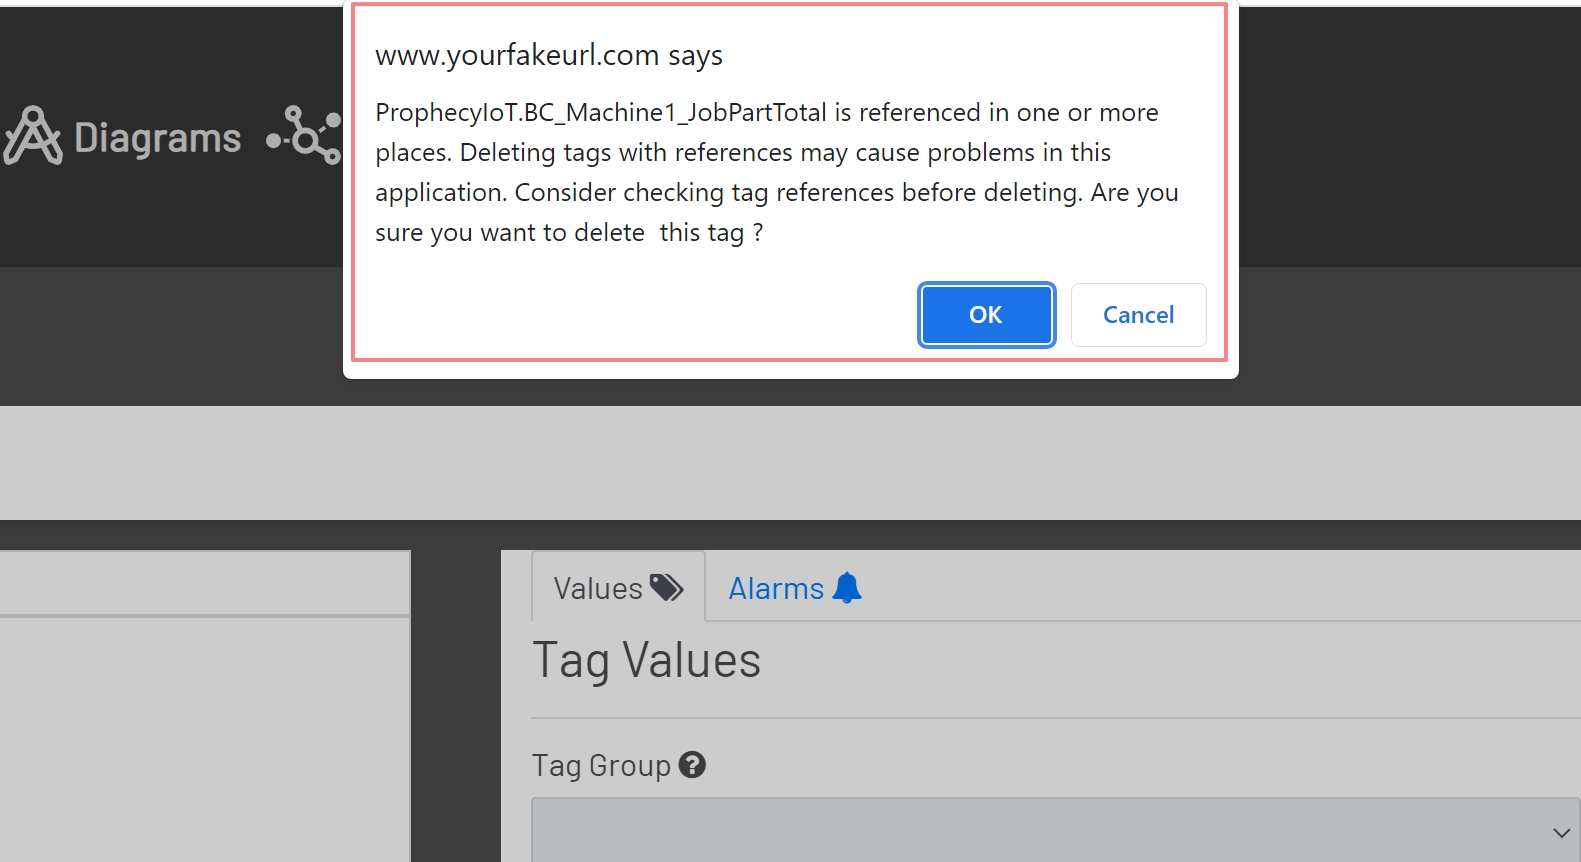
Clicking the Delete Button will automatically check the selected tags for references in other tags. If any of the selected tags are referenced elsewhere, a message will show listing any tags that have references and will allow the deletion to be cancelled if the tags should not be deleted.
Note: Please reference the Export Tag References section of this documentation for more information on Referenced Tags.
Export Tag References
In some instances, tags are used in other tags. Some examples of this could be a Tag Data Source, a tag for Enabling Time On and Counts for a tag, or a tag for Resetting a Time On and Counts for a tag. There may be times when it is necessary to check tags for references in other tags. This is where the Export Tag References comes in useful.
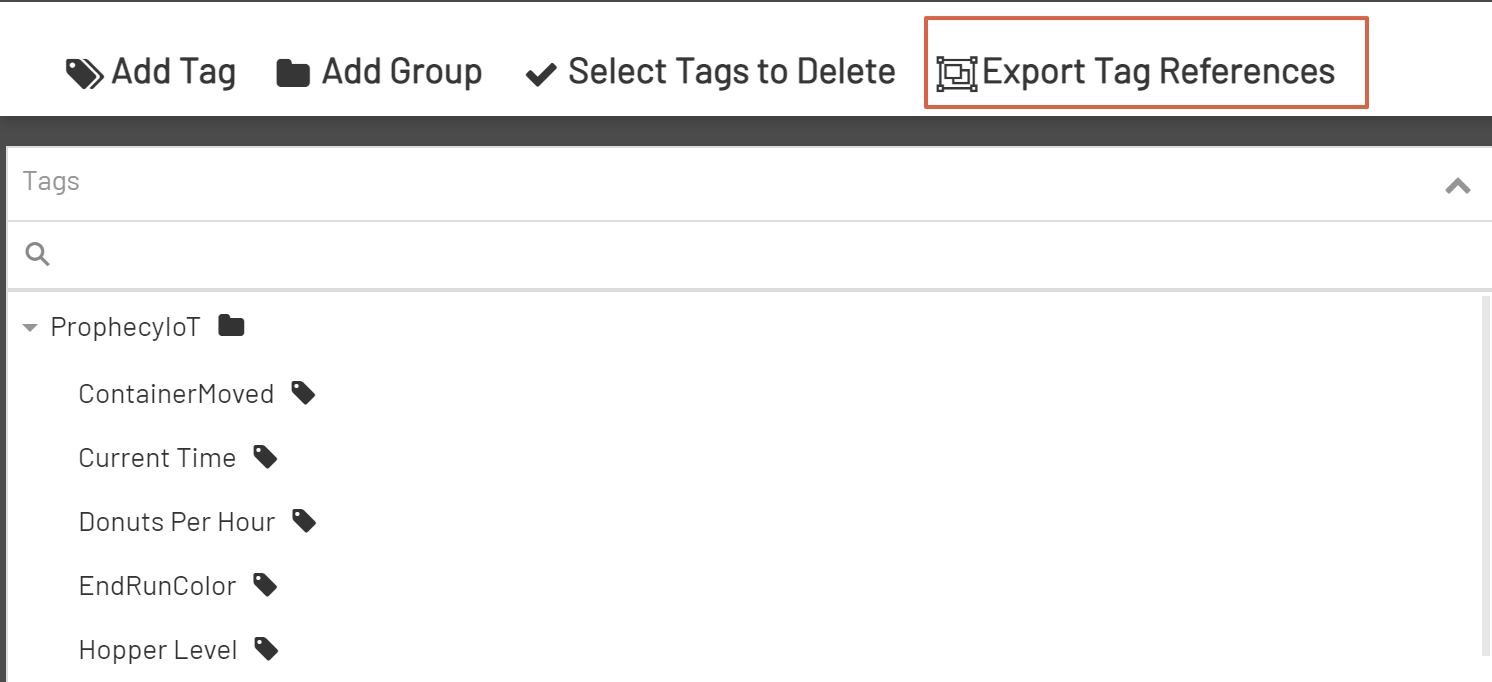
To export tag references, click the Export Tag References Button at the right of the Top Menu Bar.
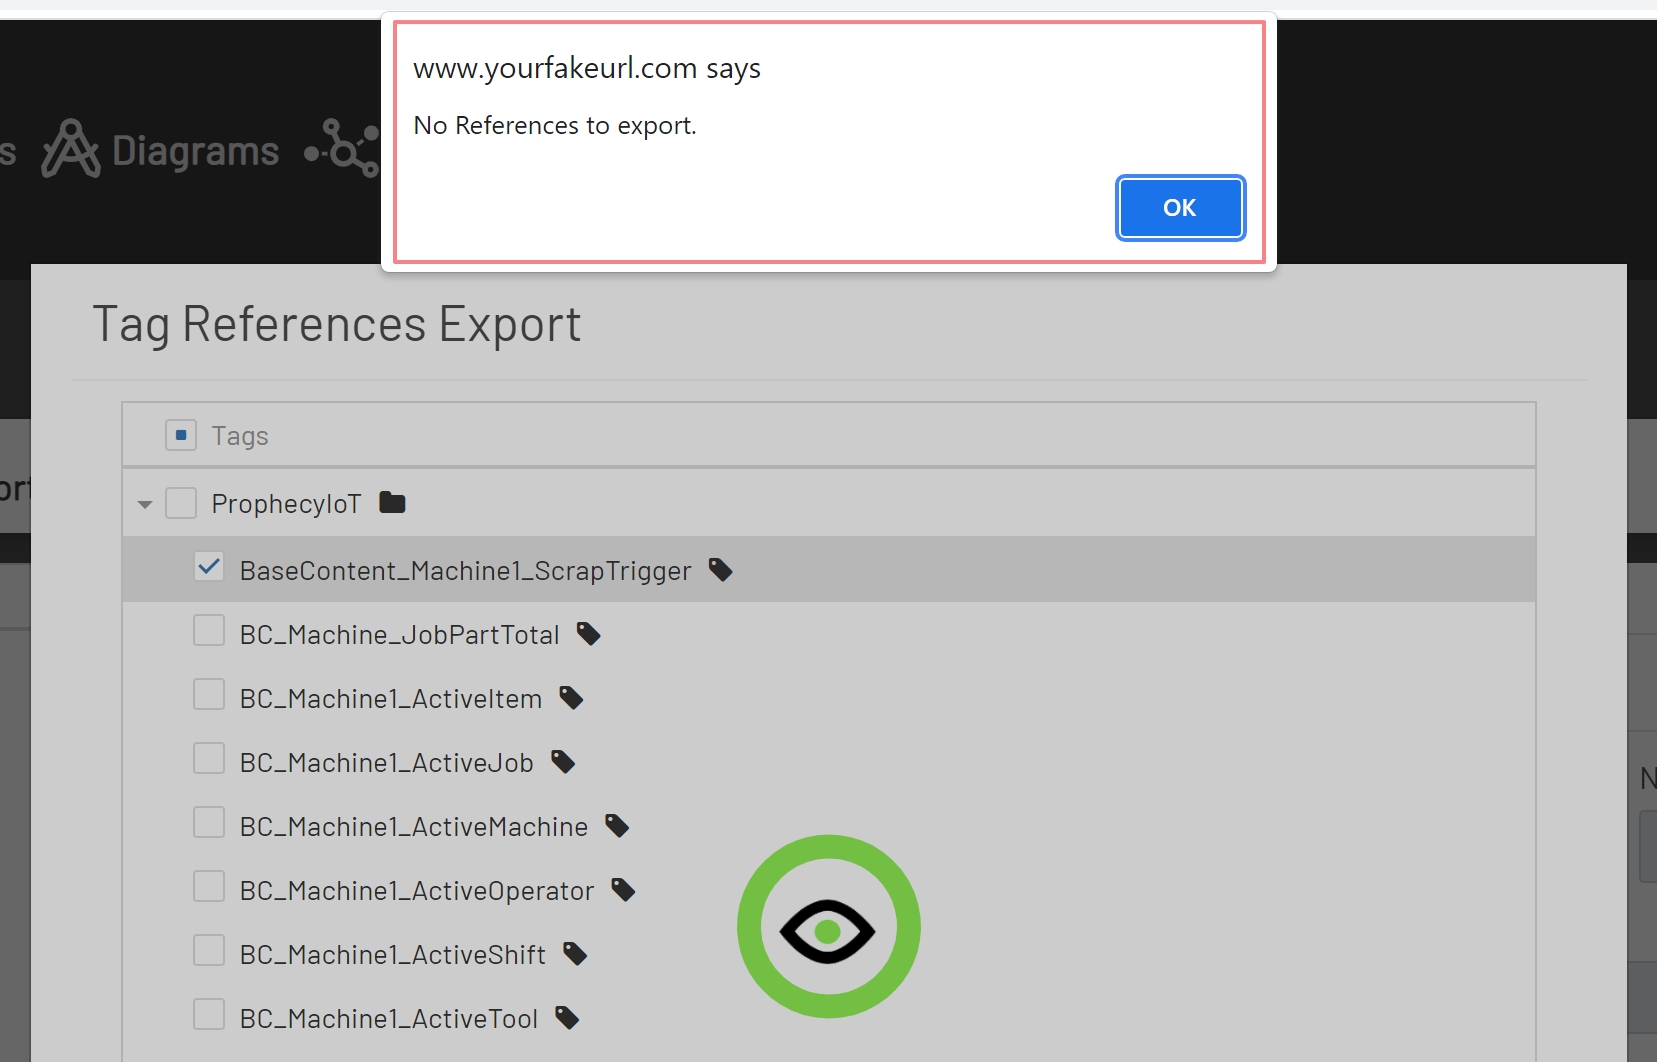
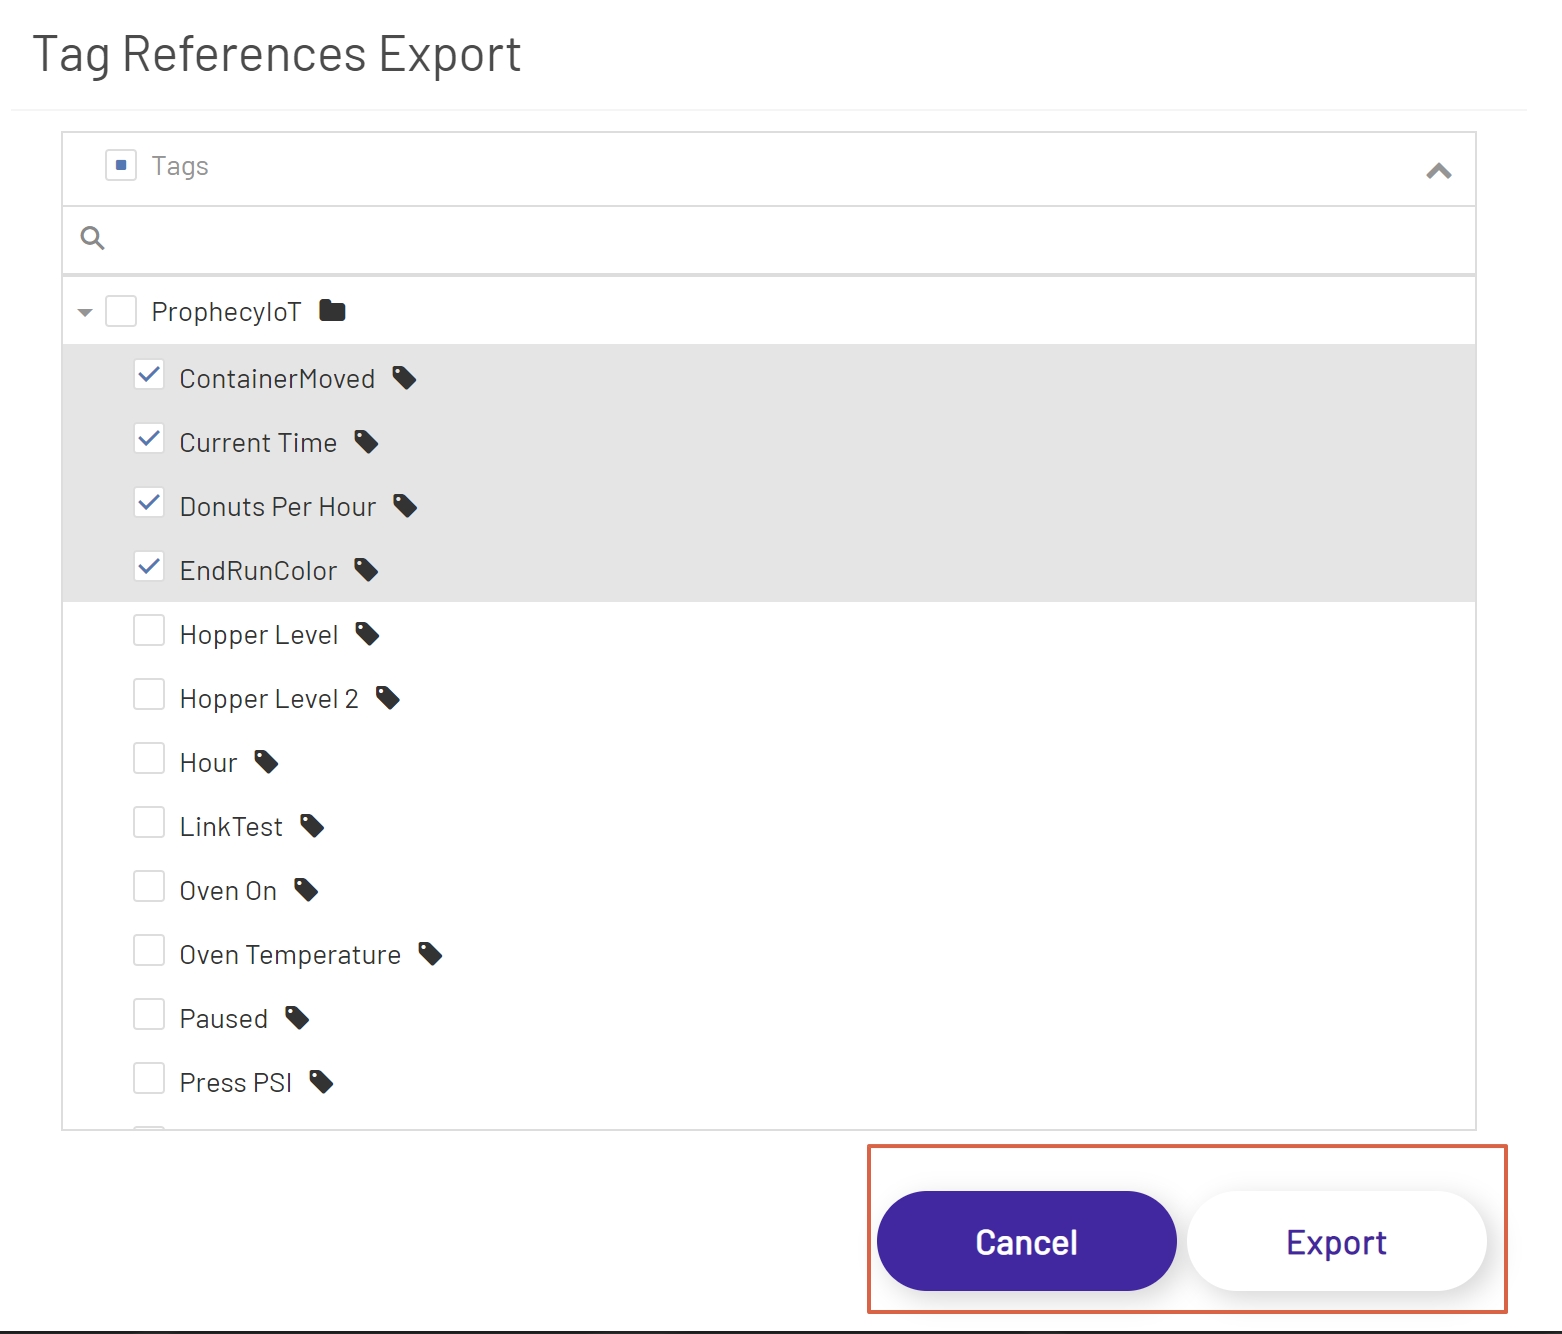
Clicking the Export Tag References Button will open a modal window with the Tag Tree. Each tag will have a check box to the left of the tag name. Check the box next to each tag that needs references checked.

Once all tags have been selected, click the Export Button to continue or click the Cancel Button to cancel the export process.
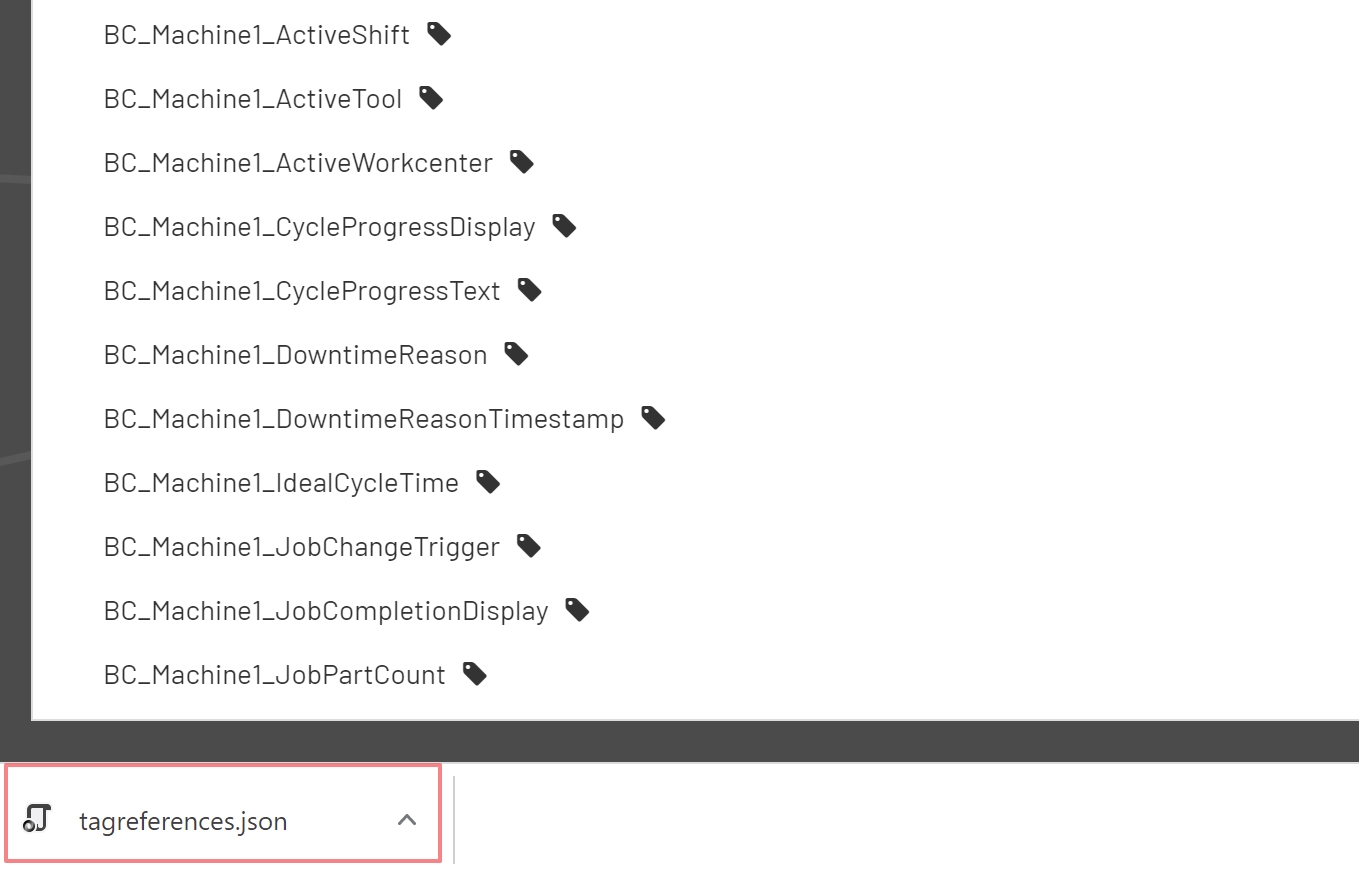
After clicking the Export Button, if the selected tags have references, a tagreferences.json file will be created in the downloads folder.
Note: Depending on the browser and settings, the downloaded file may show at the bottom of the screen.
If the selected tags do not have any references, then a message will be displayed stating that there are No References to export.