When navigating to Plant Overview for the first time the user will be presented with a blank View in Edit Mode.

Adding Views
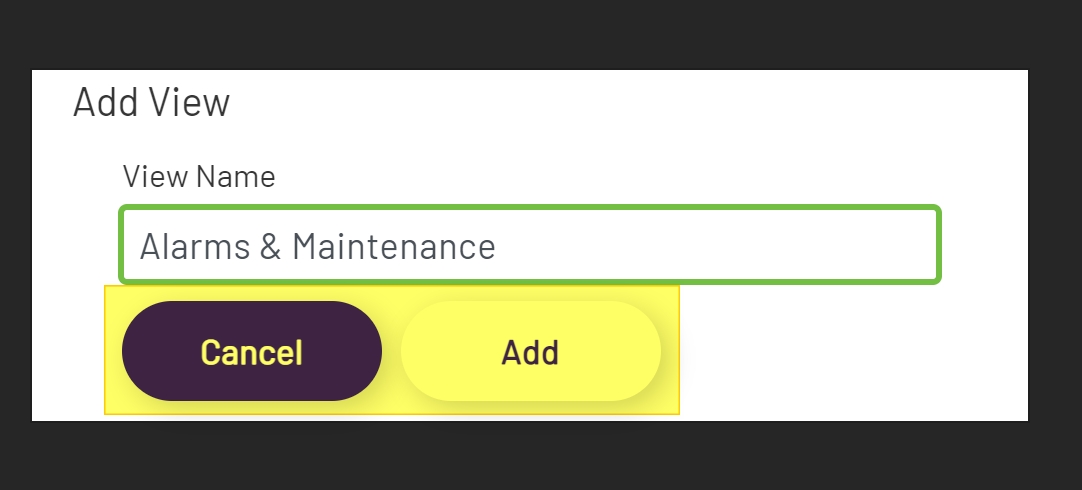
The first task to complete when creating a new View in Plant Overview is adding a View. To add a new View, click on the New View button in the toolbar. In the Add View modal, give the View a name. Then click the Add button to add the view or click the Cancel button to discard the changes.
Repeat this process to add additional Views.

Adding Items
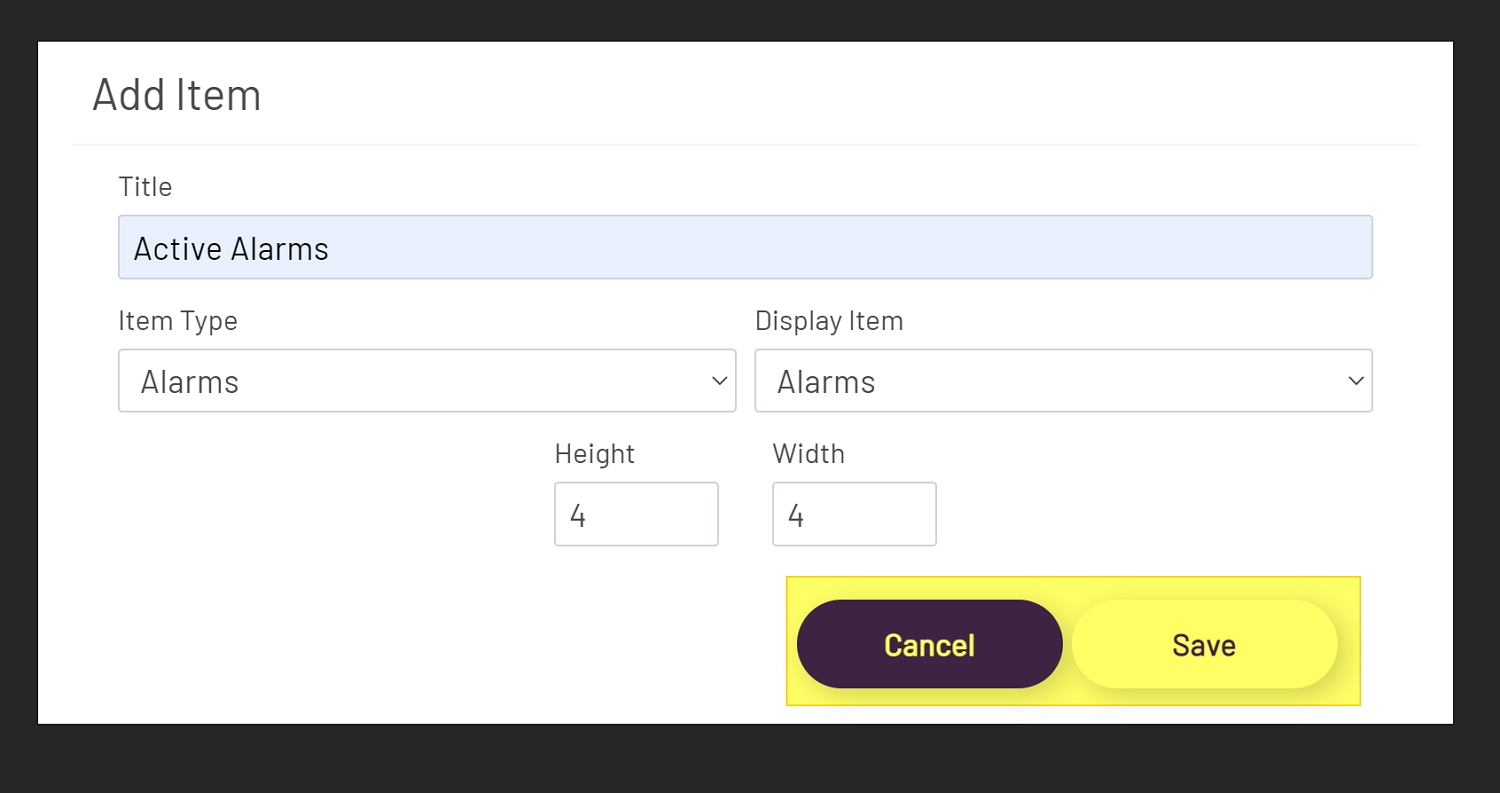
A View is not very useful until at least one Item has been added. To add a new Item, click on the New Item button in the toolbar. Below is a brief description of the options in the Add Item modal.
-
Title: This is an optional field and is the only optional field in this modal. If a title is added it will display above the Item in View and Edit modes.
-
Item Type: This is the type of Prophecy object to add. The options are Alarms, Dashboards, Diagrams, and External URL.
-
Display Item: After selecting an Item Type the Display Item dropdown will populate with a list of objects that have been created for the selected Item Type.
-
Height: This is the initial height of the Item. The default value is 4, the min is 1, and the max is 12. Every 1 increment or decrement will change the height of the Item by 200px.
-
Width: This is the initial width of the Item. The default value is 4, the min is 1, and the max is 12. This is a responsive size and will automatically calculate the width of the viewport and divide it by 12 to create 12 equal sections.
Once all required values have been added, click the Save button to add the Item or click the Cancel button to discard the changes.
Note: All of the above values can be edited after the item has been added to the View. There is also no limit to the number of Items that can be added to a View.

Saving Plant Overview
Once all Views and Items have been added, click the Save button in the toolbar to save changes or click the Cancel button to discard them.
