There will most likely be times when Views need to be updated to add new Items, remove Items, adjust Item sizing, or remove a View altogether. Fortunately, everything inside a View can be easily changed. To edit existing Views and/or Items, while in View mode, click the Edit button at the far right of the toolbar. This will change the View from View mode to Edit mode.

Reording Views
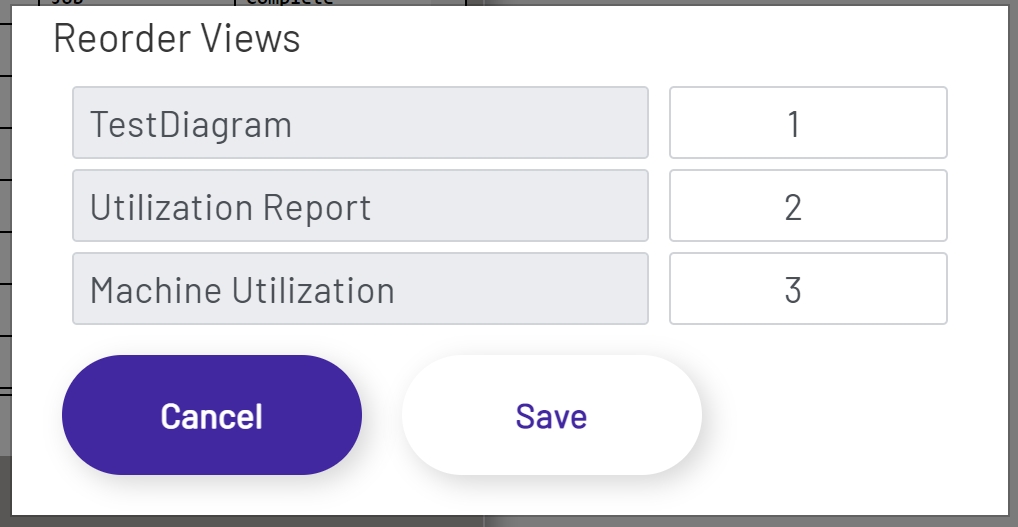
To reorder the positions of existing views, click the Edit button in the top right of the Plant Overview menu bar. Once in edit mode, click the Reorder Views button. Clicking Reorder Views will open a modal containing a list of all available Views and their current positions. To change the position, simply change the number for the position of each View that needs to be updated.
Note: Duplicate indexes are not allowed for Views. If duplicates are detected, a warning message will be shown in the modal, and the reordering will not be able to be saved until the indexes are corrected.

Managing Views
To manage an existing View, navigate to the View that needs changes. Then click the Manage View button in the toolbar. From the Manage View modal, a View can be renamed or removed.
To rename a View, simply type in a new Name and then click the Edit button to save the View or click the Cancel button to discard changes.
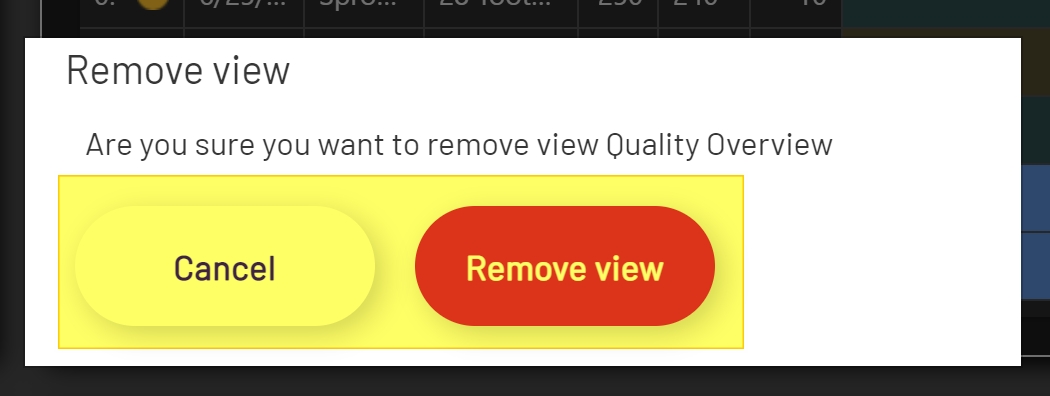
To remove a View, click the red Remove button at the bottom of the modal. After clicking the Remove button, a deletion confirmation will show allowing an opportunity to cancel the change. To remove the View, click the red Remove button or click the Cancel button to discard changes.


Managing Items
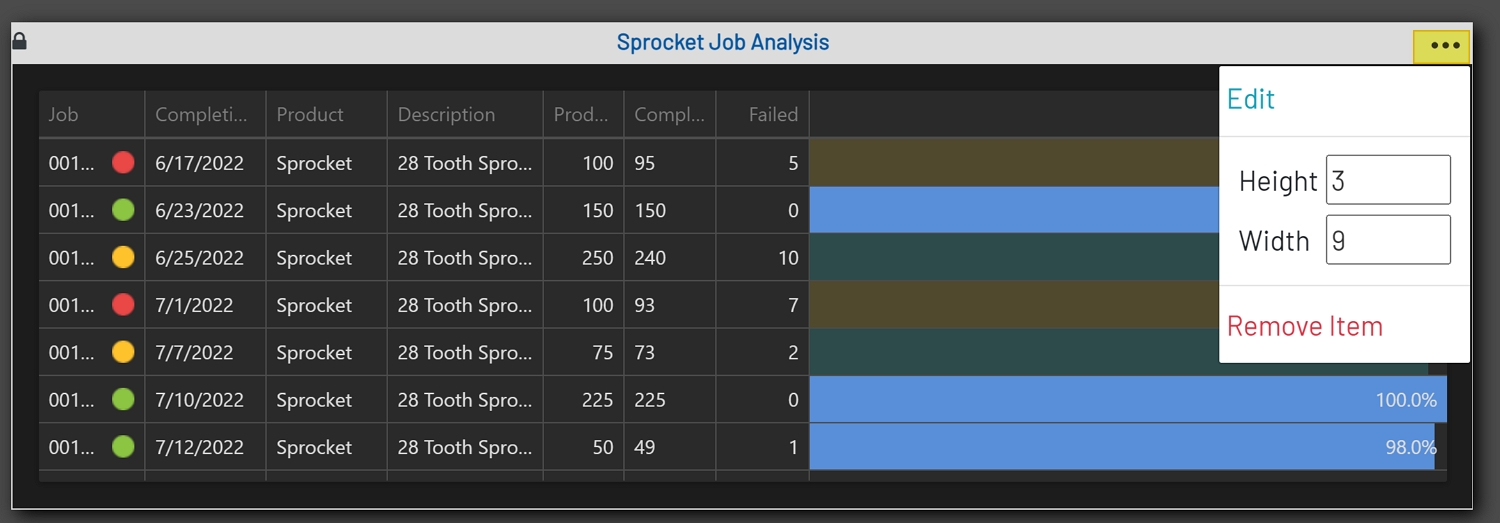
In Edit mode, each item should contain a Hamburger menu on the right-hand side of the Title bar. Clicking the Hamburger menu will display a dropdown with the 4 options below.
-
Edit: Clicking the Edit button will open the Edit modal. The Edit modal contains the options that are available when adding a New Item.
-
Height: This is the initial height of the Item. The default value is 4, the min is 1, and the max is 12. Every 1 increment or decrement will change the height of the Item by 200px.
-
Width: This is the initial width of the Item. The default value is 4, the min is 1, and the max is 12. This is a responsive size and will automatically calculate the width of the viewport and divide it by 12 to create 12 equal sections.
-
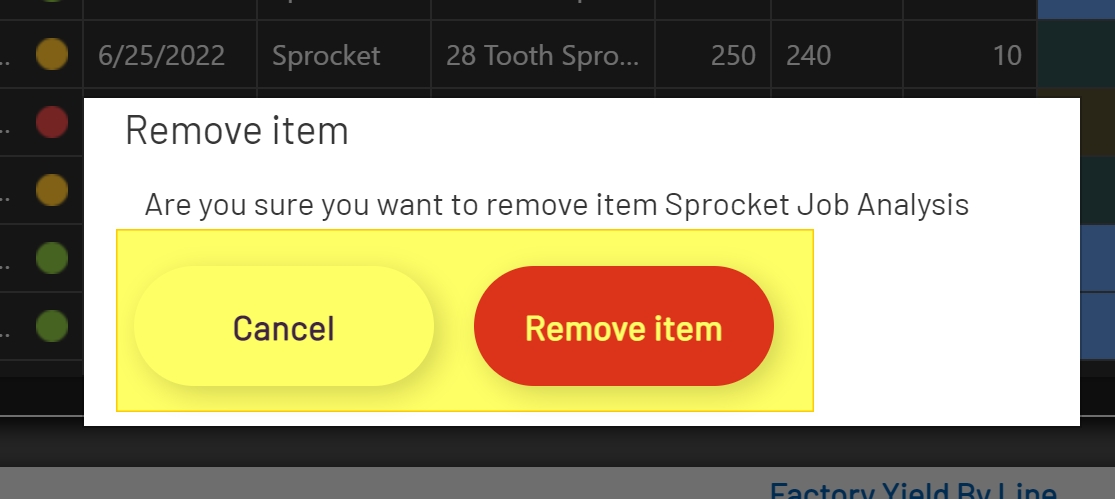
Remove Item: Clicking the Remove Item button will remove the Item from the View. After clicking the Remove Item button, a removal confirmation will show to confirm the removal of the Item.
Deleting All Views
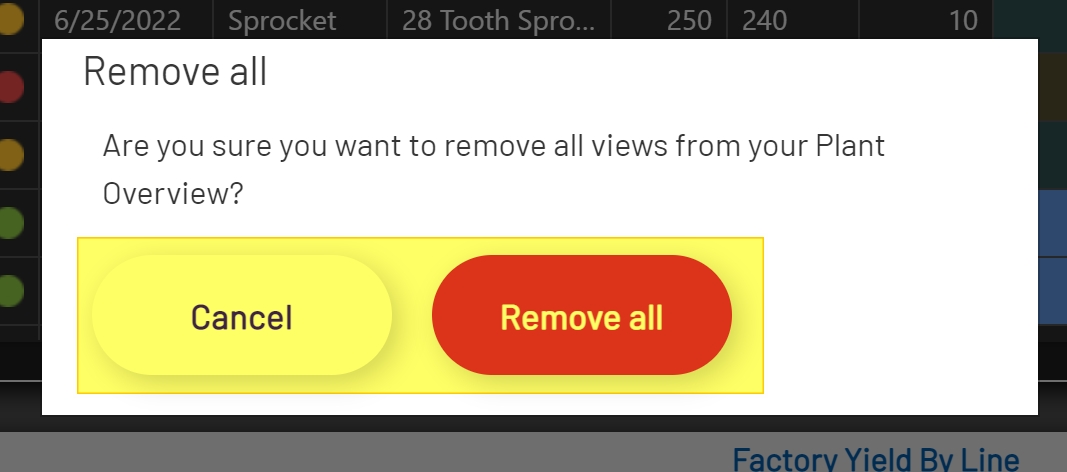
There may be times when it is necessary to delete all Views and start over. This can be done by clicking the Delete All button at the far right of the toolbar. After clicking the Delete All button, the delete confirmation modal will show. If deleting all Views is intentional, then click the red Remove All button. Otherwise, click the Cancel button to cancel the deletion.
Warning: Clicking Remove All in the confirmation modal is a permanent change. All information associated with the Plant Overview will be permanently removed.

Moving Items
There may be times when Items need to be placed in a different order than when they were originally created. Or it may be that after placing them in a specific spot, they look out of place. Fortunately, Items can easily be placed in new positions in any View.
To move an Item to a new position, click the Lock button on the left-hand side of the Title menu. This should change the Lock button to an Un-Lock button. Once un-locked, click and hold the mouse, then drag the Item and drop it onto any other Item in the View. The dropped Item will take the place of the Item it was dropped on, and all other Items will be shifted accordingly.


Saving Changes
Once all changes to the Views have been made, click the Save button in the toolbar. Or click the Cancel button to discard any changes that were made.
Note: All but the Deleting All function are temporary until the Save button has been clicked.
