A db tag can be defined by utilizing the editor within Tag Manager when you add a new tag to the ProphecyDatabase group. Upon creating the tag the editor should look like this
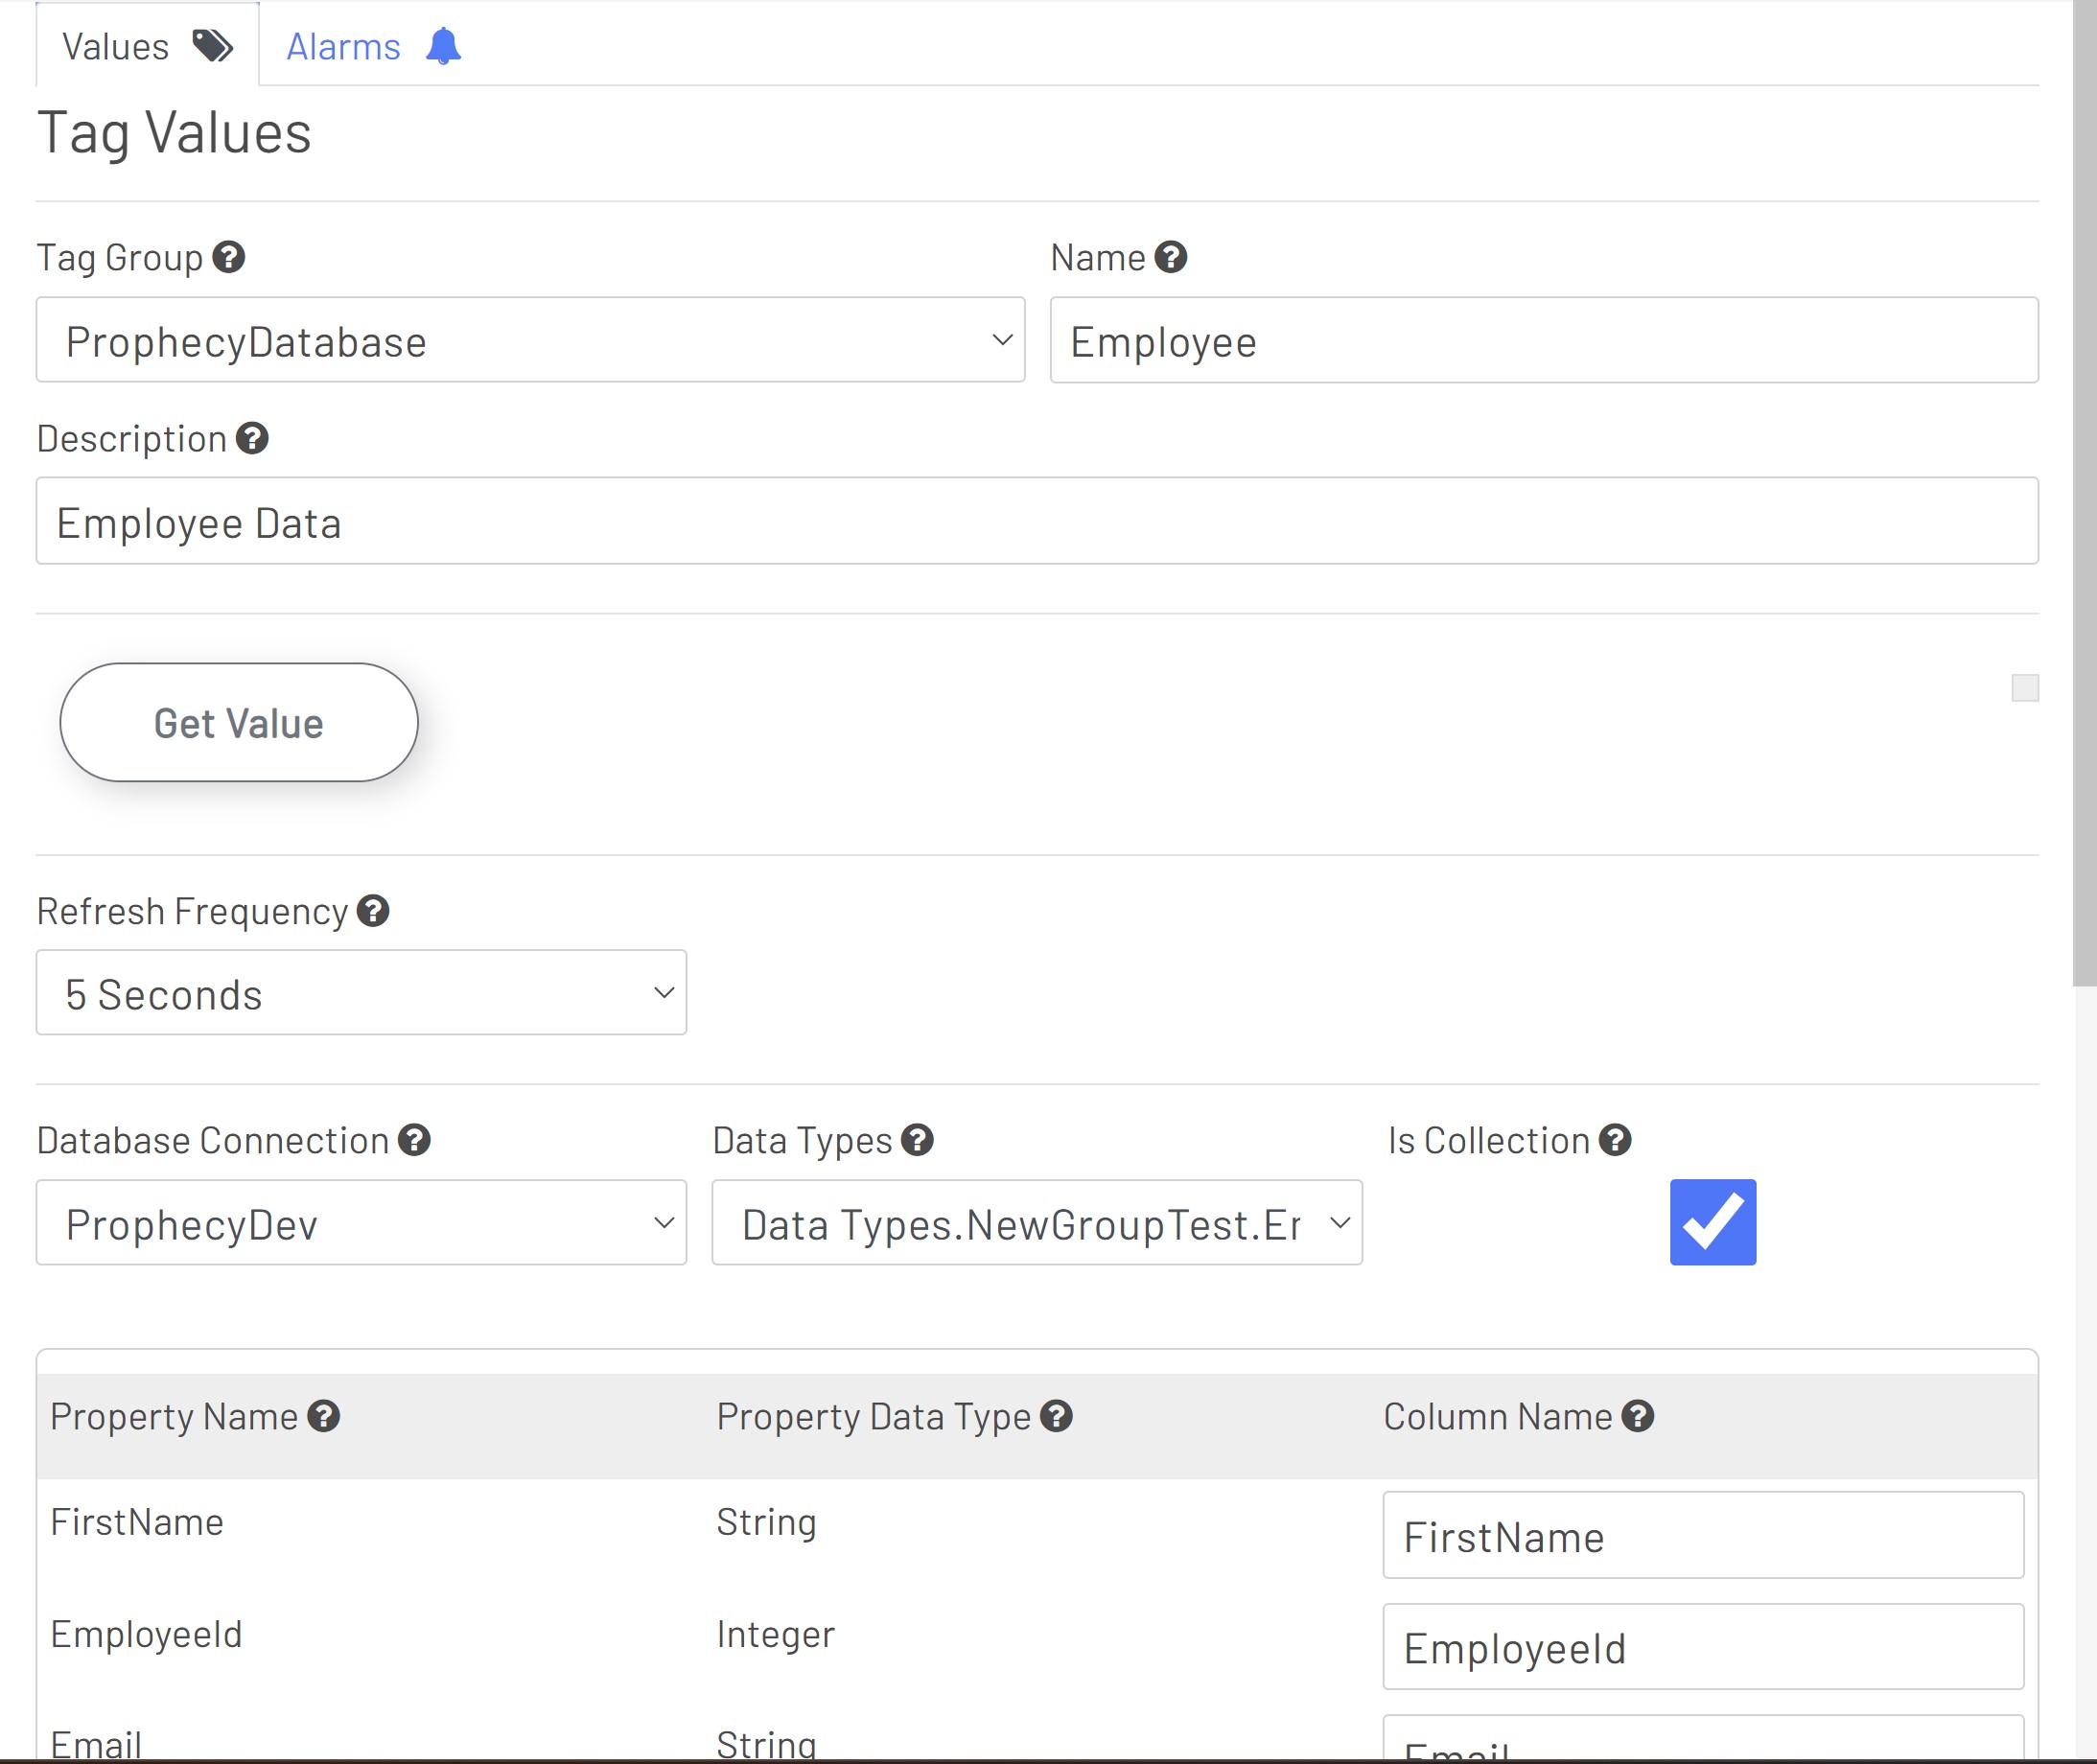
Here, we can add the name, description, refresh frequency and database connection. The Data Type will be the data type that was created using Data Type manager to represent the schema of the data that we are streaming to this db tag. 'Is Collection' will need to be selected if we are getting more than one row of data at a time from our datasource.
 .
.
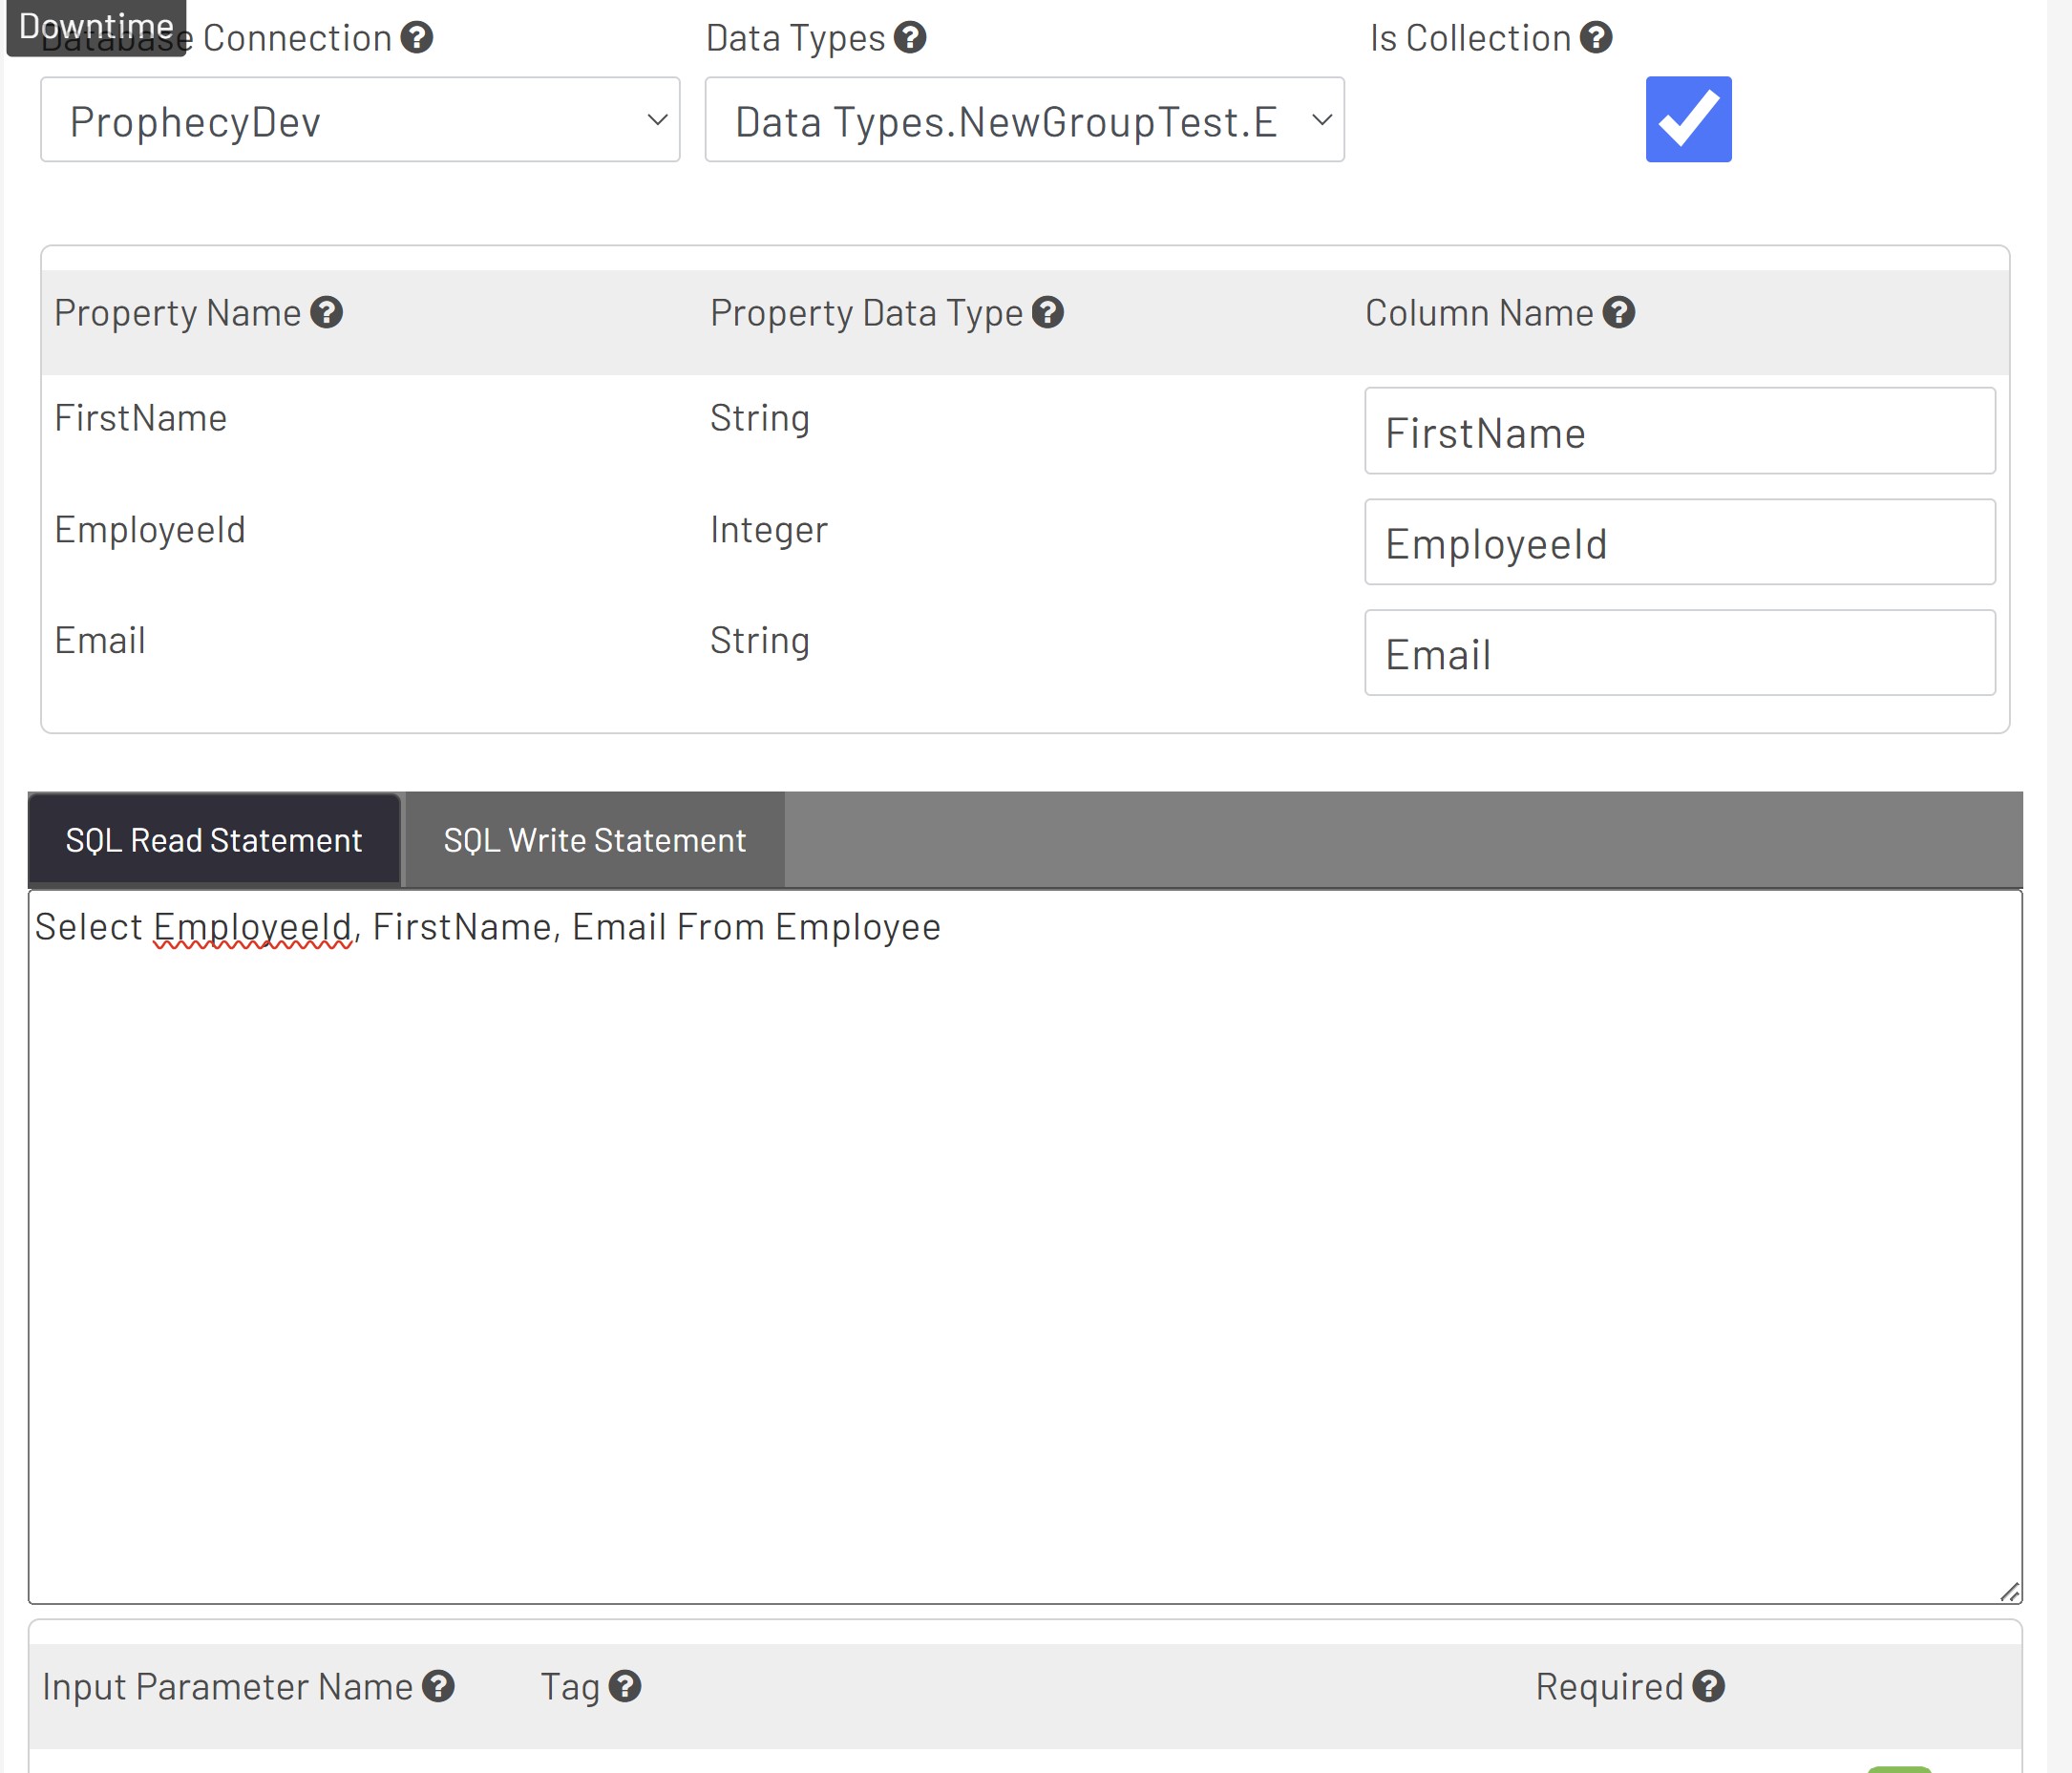
After selecting the datatype we need to fill in the properties from the data type manager. These should automatically be filled in for you when selecting the data type but double check to make sure that the type and associated Property Name matches what is in the schema. The column name is what will be used to name the columns of data when we are utilizing this tag in diagrams.
Next, we can write the SQL that will consume the data from the datasource that we selected. Currently, Prophecy supports SQL to consume this data. We can use the Input Parameters below to add inputs that will modify our query by providing filter data such as minValues, maxValues, matching values, not matching values etc..
To test that your SQL is working, select the Get Value button. This should populate the area below the button with JSON data that looks like this.
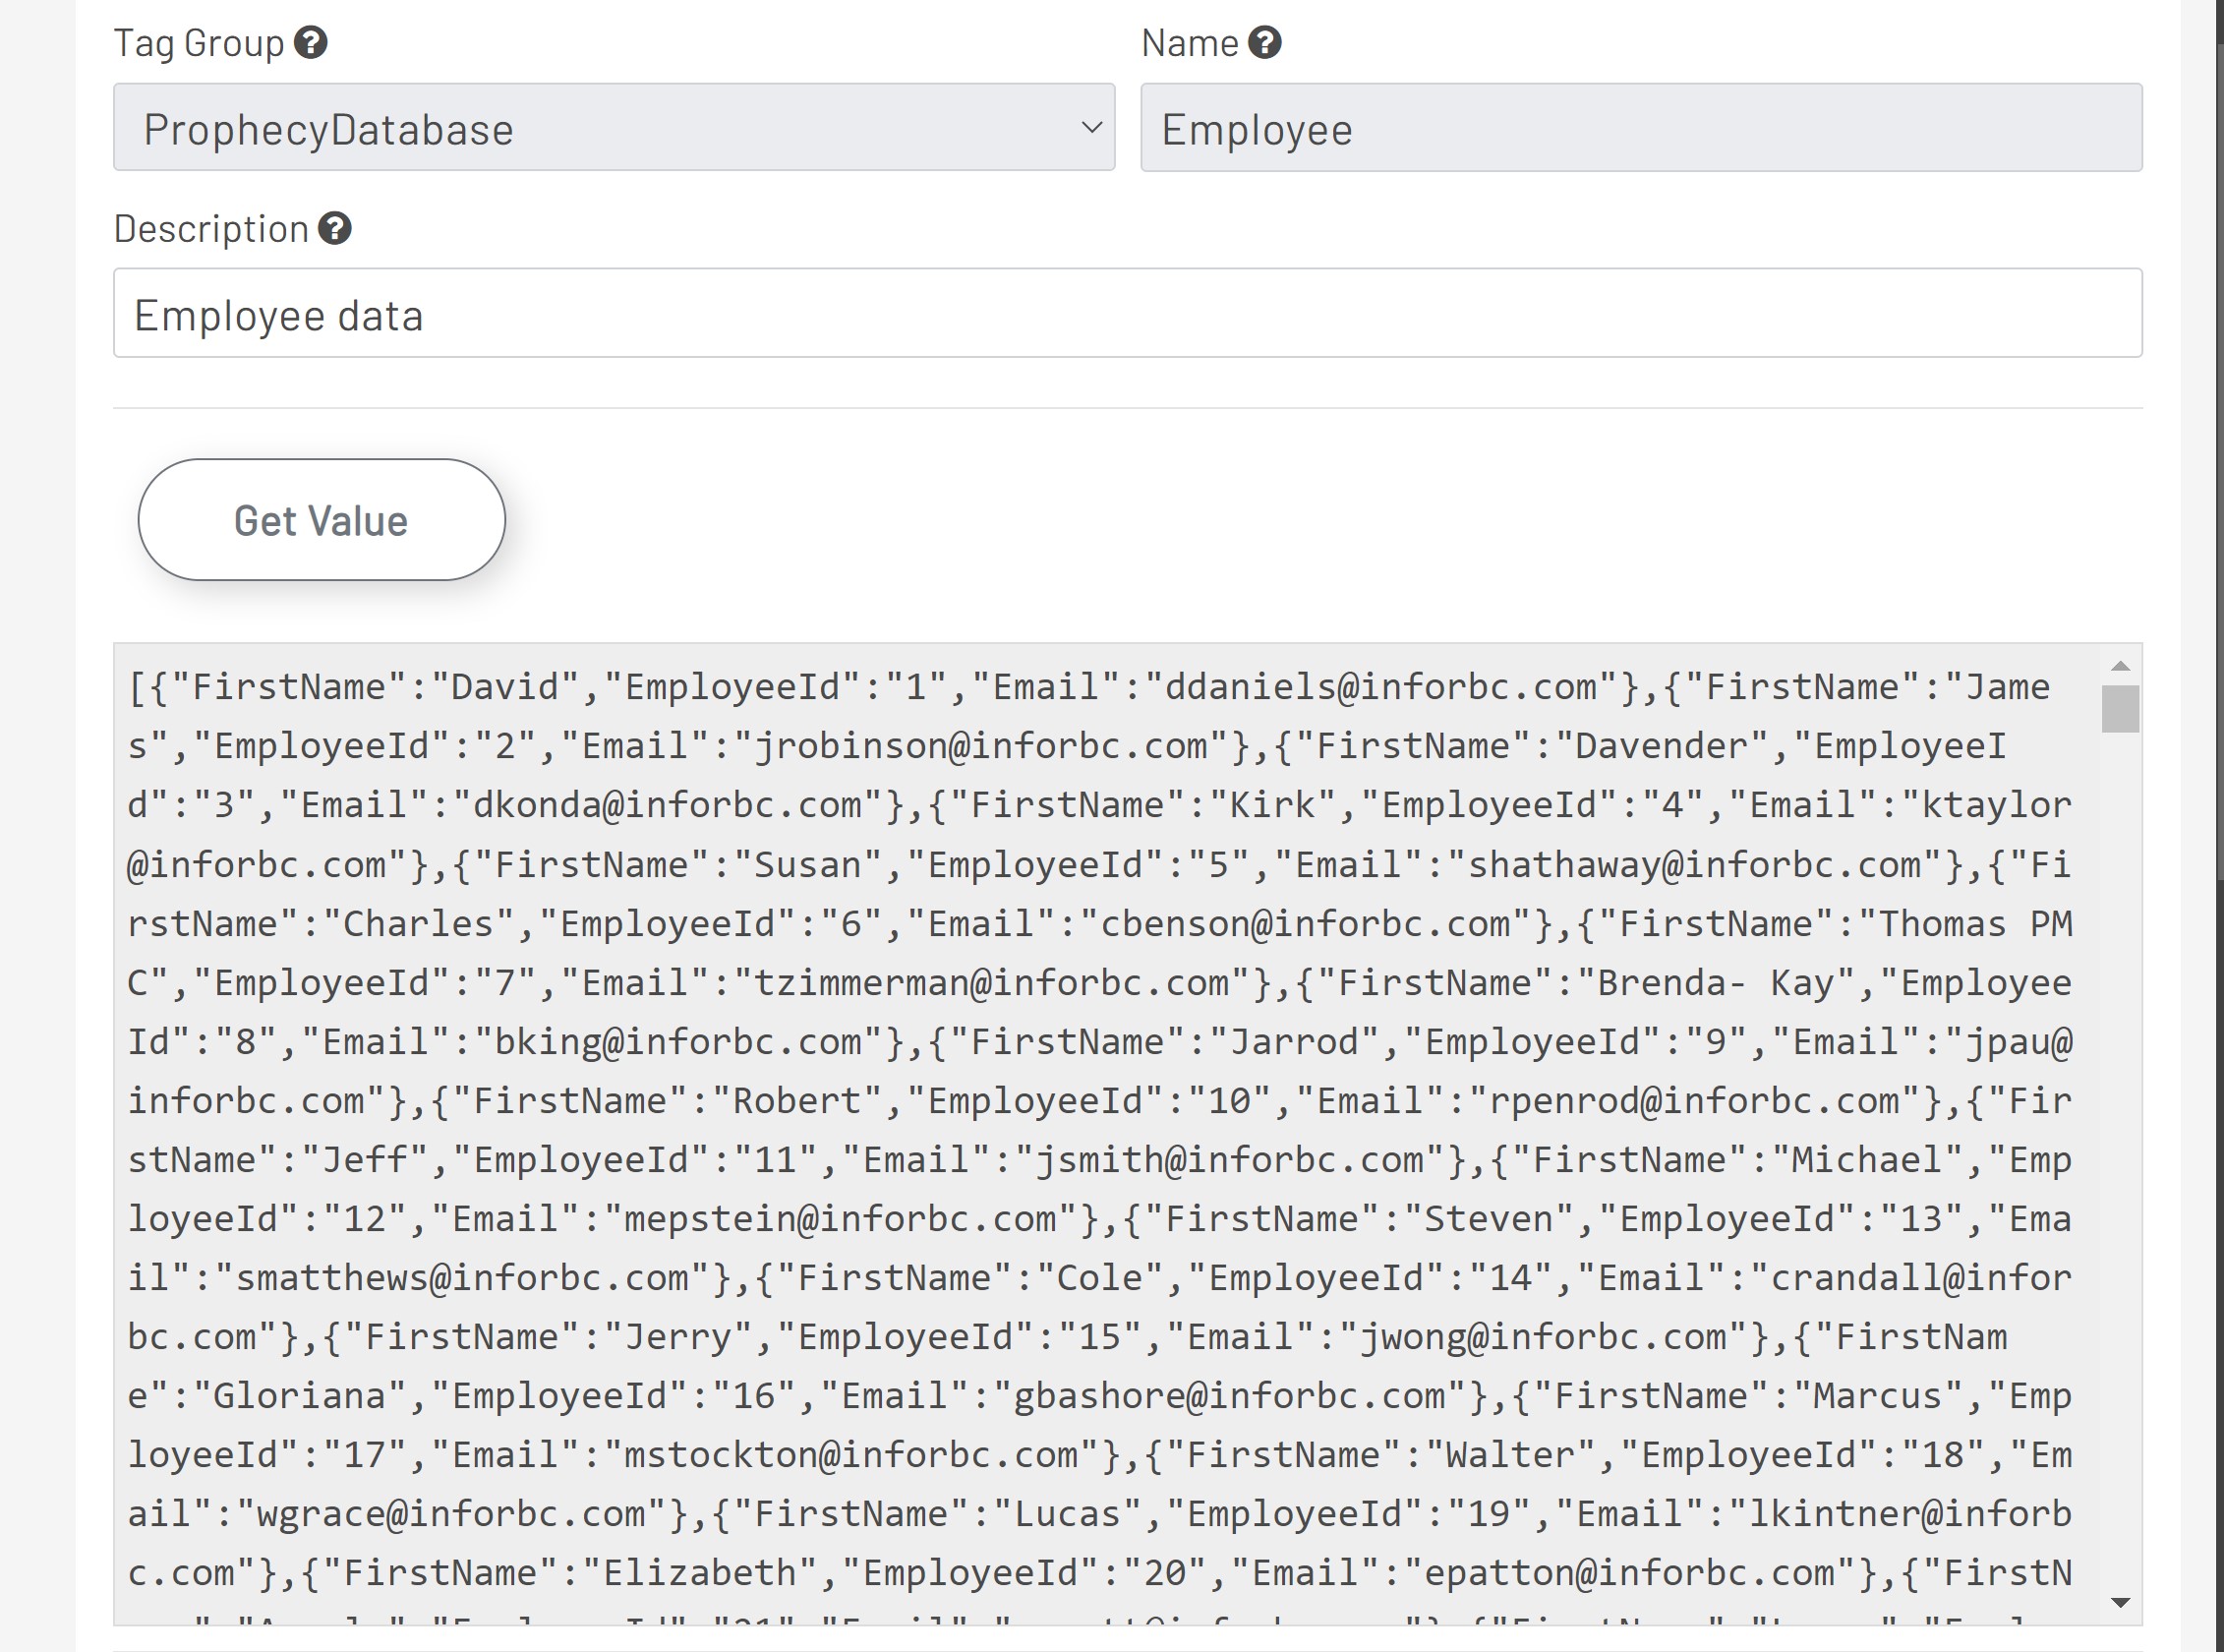
Once you are satisfied with your db tag you can select save and move on to using this data in a diagram.